
Do you want to know how to run or test the flutter app on a real device? If yes, then proceed with this article and explore the complete process that takes place here. When you develop a sample flutter app with a fresh installation, you might sometimes get an error while running it. The errors may be like no connected devices. To get rid of such issues, you must gather details about running or testing the flutter app on the real device.
Real Devices vs. Simulator:
In general, real devices are not the same when compared to simulators or emulators since there are more features they could never predict. If the developer tests or debug their Flutter app in a simulator then the result will be completely different from real devices.
This is mainly due to the loading time and app speed. Usually simulators work on the computer process and hence the speed will be slow. But real devices have their own processor with memory management ability. Therefore real devices are faster when compared to emulators.
Procedure to run or test flutter app on a real device:
You can run or test them on both your android and iOS device very effectively.
For Android:
- At first, you need to enable the USB debugging and developer options on the android device. Each version has a unique process and hence stays with the up-to-date version. The short version is that you need to tap on your device build number for around 7 times. After that, a “Developer Options” option pops up. Then you are required to click the “enable USB Debugging” option. You have to go through the linked Android documentation to get an idea about most up-to-date instructions.
- Then you need to plug your mobile into the PC with the help of a USB cable. Then you can get some pop ups on your mobile. That popup will ask whether you need to enable USB debugging through that PC. Click the “yes” option.
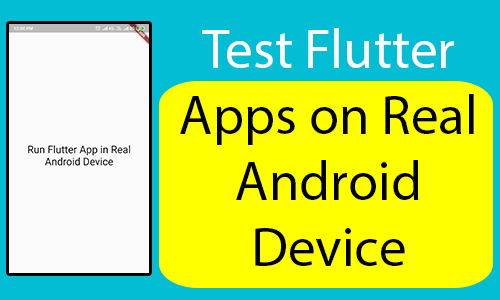
- Finally, you can run Flutter as similar to the simulator running.
For iOS:
To run or test the flutter app on the iOS device is not an easy process. It is somewhat complicated. Follow these procedures as it is and get everything done in the right manner. This process is tough since you must need an official apple ID to sign up for the “Developer Account“.
- First you must open XCode.
- Then open the “Preferences>Accounts“and sign in with your official apple ID.
- After that, click on the “+” sign from the “Manage Certificates” option and click “iOS Development“.
- You need to connect your iOS device into the PC and find the device in the drop down option.
- Click the fix issue below the team pop-up menu.
- Finally you have to click the run option in Xcode.
Deploy to iOS devices:
In order to deploy the flutter app to the iOS device, you must need an apple account and some additional tools very effectively. You are also required to set up the physical device deployment in the Xcode in a most advanced manner.
- First, you need to install homebrew.
- After that, open the official terminal.
- Then you have run the below mentioned commands to install tools for deploying flutter applications to the apple device.
- $ brew update
- $ brew install –HEAD libimobiledevice
- $ brew install ideviceinstaller ios-deploy cocoapods
- $ pod setup
- If the above mentioned commands fail with an error, then you have to run brew doctor. After that, follow the instructions to resolve the issue.
- You need to follow the Xcode signing flow in order to provide the project: Open the default workspace of Xcode in the project via runningopen ios/Runner.xcworkspacein the terminal window from the flutter project directory.
- Go with the Runner project occurs in the left navigation panelin Xcode.
- Ensure the development team has been selected under General > Signing > Team on the Runner target settings page. By selecting the team, Xcode can create and download the development certificate, then register the real device with your official account and create & download the provisioning profile.
- In order to start the initial iOS development project, you have to sign into the Xcode with your official apple ID.
- Testing and development can be supported for any kind of apple ID. You have to enroll in the iOS developer program to distribute the app to the official apple store. You can follow the proper instructions to create an apple ID on the official apple help page.
- When you are using the attached physical device for the iOS development, then you are required to trust both the development certificate and Mac on that device. Click the trust option in the dialog prompt after connecting the iOS device to the Mac.
- After that, you need to go to the setting app on your apple device. Then, click General > device management and at last, you can trust the certificate.
- When the automatic signing fails in the Xcode, you need to check out that the project’s general > Identity > Bundle Identifier value is effective and unique
- Finally, you can start the application by running the flutter run option.
Conclusion:
From the above mentioned scenario, now you have got the idea about how to run or test the Flutter app on a real device. Have a great Flutter Journey ahead!!!
Let us know when you are required to convert your idea or techniques into reality. Visit our website for Flutter technology updates, guide and hire Flutter app developers from Flutter Agency. Our portal is filled with cool resources from Flutter such as Flutter Projects, Widget Guide, Code libs and much more.