
Have you noticed that your doors no longer work as well as before?
Your doors are one of the most important elements of your home. They help separate two different spaces for safety and convenience reasons.
However, doors may not last long due to extreme weather or other elements. Your door might form cracks, start to rust, or get stuck when you open or close the door. The best way to achieve an aesthetic and energy-efficient door is by replacing them.
What if you don’t have the budget to hire a handyman? Replace doors with ease by reading on to learn the steps below.
Screen Doors
Screen door replacement starts by removing the damaged screen. Pull the spline to release the old screen from the door frame if the spline is intact. Place the screen over the door frame and leave a one to two-inch overlap when cutting the new screen.
The extra inches will allow you enough space to reach all edges of the door frame. The next step requires a screen spline installation tool. It has both concave and convex rollers to help wedge the spline into the frame.
Use the concave part to press the spline into position by rolling it along the frame’s whole length. The convex roller will force the spline to form into the right angle for the frame’s corners. The final step is to cut off the excess screen and spline for a cleaner edge.
Interior Doors
Before you replace interior doors, you should close them and make a mark measuring ten inches from the ground. You’ll use the 10 inches as your reference to trim the new door. Set the old door on top of the old one to check if they have the same size.
Use a combination square to help you mark the new areas for the hinge mortises. Make sure you chisel out the area where you’ll place the hinges so it can fit perfectly on top of it. Switch to the other side to drill the hole for the lockset hole.
Transfer the 10-inch mark onto the new door before setting the old door aside. Use the 10-inch reference to measure 8 to 9 inches to the bottom to make a 1/8 clearance for the door’s bottom. Next step, you have to set the door in the hinge while using wood shims to elevate the door if necessary.
When you have the door working, install the doorknob into the lockset holes. Be sure to avoid drywall screws since they can brittle over a few years. Use construction screws with the same color as your hinges for better longevity.
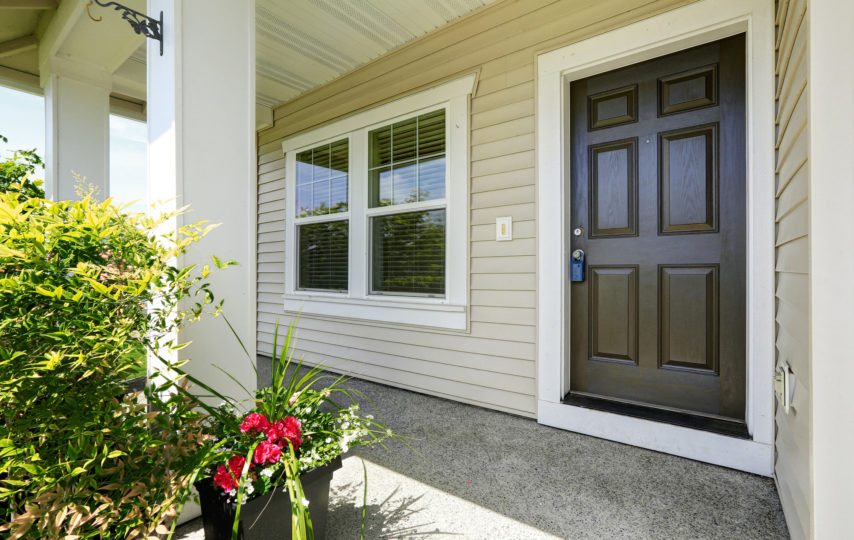
Exterior Doors
Always start by measuring your old doors when you replace exterior doors. Pre-hung doors are the easiest and safest to install for exterior doors. Start by measuring the door, from the door size to the exterior opening.
Take note of the height and width and round them up into full inches. Make sure to measure the backside of both the exterior and interior trim. Then, remove the hinge pins with a hammer and swing the door open to lift it off.
Pry the trim loose while protecting the wall using a wide tool, like a putty knife. Score the intersection in the molding and jamb it with a utility knife if you want to reuse the trim. Next step, you have to check the subflooring and framing condition.
Remove any wood that looks like it’s rotting or it looks weak. Consider installing flashing tape to protect the sill from water. Be sure to caulk the frame edges, along the sill, and around the door’s sides and top. Place the pre-hung exterior door and tack the bottom corners.
Place foam insulation under your door’s interior trim to help heat your home and keep the cool outside. Install your new interior trim to avoid a gap between the door and wall. Apply the caulk backer again to prevent gaps and holes in the framing.
Garage Doors
For garage door replacement, you need to remove the lifting mechanisms before removing the old garage door. Ensure the door stays in place by holding it in place with locking pliers. Wrap a strong cord on the spring and track to bind them together.
If there are no extension springs, look around for a tightly wound-up torsion spring. Now you have to detach the lifting cables on either side of the garage door. Use pliers to help you pull the cable away from the bracket on the lowest door panel.
Place a woodblock at the bottom of the door and slowly lower the garage door. The wooden block at the bottom of the door helps prevent the door from crashing down or breaking someone’s fingers. Start removing the door panels by getting rid of the brackets and rollers.
You need to have others holding onto the door when removing the hinges to prevent the garage door from falling. When you have your garage door measurements, get enough panels that fit your entire doorway. Install the three hinges around the top corners of the door panel.
Place the rollers inside the brackets and hitches, facing away from the door panels. Screw the track, where the wheels go up and down, to the door frame and place the first panel. Do the same thing for the other panels until you reach the top.
Replace Doors Through DIY
When you DIY to replace doors, be sure to get the right measurements to avoid more hassle. Always test the door before installing it all the way through. Never try a DIY project if you have no prior DIY knowledge or your body can’t handle things like heavy items or dust.
Are you looking for more guides to help you with your home? Take a look at our collection about house maintenance and other house elements you can replace.