
It’s important to use a framing nailer safely, and you need to be using it for the right reasons .
Perhaps you have inherited a house that needs some work, or maybe you’re building your own home from scratch.
Maybe you’re just doing some remodeling in the kitchen and want to add some new trim work. There’s no denying that using a framing nailer can be fun.
What is a framing nailer and how does it work
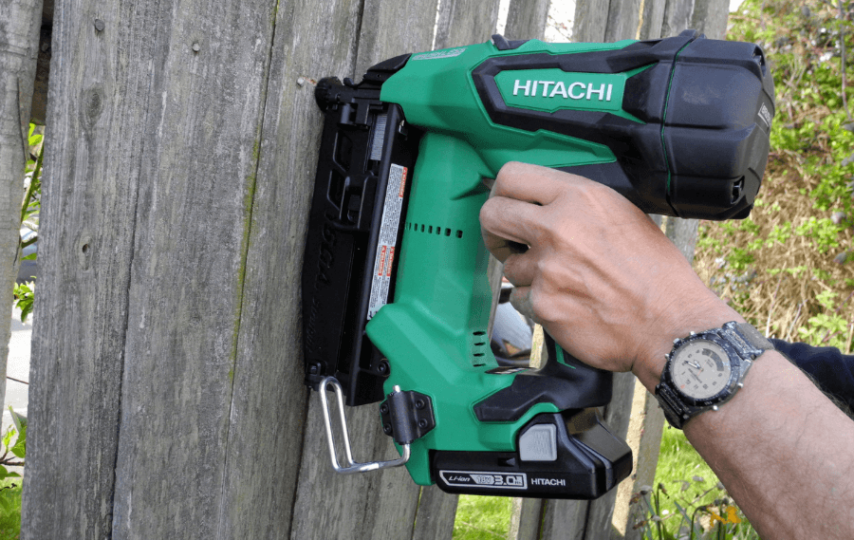
A framing nailer is a tool that uses long nails to attach boards together. It’s essential for structural work, and it typically looks like this:
When you’re using the gun, one hand holds the frame while the other operates the trigger. You’ll often need two people working together on some projects so whoever isn’t holding can cordless framing nail gun load up more nails when needed.
The machine fires off an individual nail every time you pull the trigger, ensuring precision and safety in whatever job you are doing.
All of these features make them ideal not only for carpentry but also for certain types of home improvement jobs as well. anything where construction knowledge or expertise is required (e.g., installing trim around doors).
How to use a framing nailer
framing nailers can be used for a number of different jobs, and there are many ways to use them. For the purposes of this article, we’re going to focus on using one for replacing gutters, but it’s important to keep in mind that framing nailers can be used for other projects as well.
The first step is determining what type of gutter you plan on installing; some people choose those without any projections because they don’t want anything sticking out from their house while others will go with ones that have extensions or hooks so water doesn’t pool up at the bottom.
Once you’ve chosen your design preferences, make sure they match with whatever measurements were provided by the manufacturer (this should be noted somewhere in your instructions). Obviously if these numbers aren’t available then you can measure the length and width of your gutter by hand.
Once you’ve determined the correct dimensions, make sure to set up a table or work surface for all parts of this project (this includes the ladder). You’ll need plenty space as well so don’t plan on using something like a dining room table; instead find an outdoor workbench if possible.
Once everything is in place, fasten one end of your new gutters onto the house with nails from your framing nailer.
be careful not to use too many because it may cause structural damage down the road. Once both ends are secured, go ahead and put some sealant around each side where they meet at corners or overlaps then hold them firmly together until it’s dry.
When attaching the gutters to your house, you’ll want to use a pneumatic nail gun with Kevlar nails which will help prevent any tears or accidental punctures in the rubber gutter material from occurring.
You may need someone else to hold the other end of the ladder for stability while you work on this project so be sure not to forget them!
Safety precautions for using a framing nailer
Wear safety glasses, gloves, and sturdy shoes at all times when using a nail gun. It’s also recommended to be wearing long sleeves and pants so you can avoid any accidental exposure to the nails.
Always carry your nail gun in one hand with the muzzle pointed away from yourself while carrying it around. If you need both hands free for some reason, hold it by the handle or put it on its holster before setting it down again.
Don’t point or shoot your framing nailer up into areas that could have people present like ceilings, walkways, or stairwells unless they are securely blocked off first (at least four feet high). You should never aim a pneumatic tool towards anyone without warning them first either.
For the best results, it’s important to use the appropriate nails when using your framing nailer. These are available at most hardware stores in lengths of either six, 16, or 24 inches and come with a variety of head types including but not limited to: pinners (square heads), ring shank (round), and smooth shank (flat).
The size you should use depends on the thickness of wood you’ll be securing your framing into. three-inch rough sawn lumber requires 16d heavy pins while two-inch boards need 18d smooth shanks for example.
Why you should invest in one now, even if you don’t plan to use it often
In order to build a house, you will need the right tools for the job. One of these is a framing nailer which can be used when nailing both plywood and OSB sheathing as well as exterior siding.
Rather than using screws or nails by hand as some do, this tool drives them in all at once so that they are flush with the surface they’re fastening down on. This saves time, energy (you don’t have to bend over), and money because your materials last longer since there are no exposed metal edges to wear away from weathering.