
Before buying plaster suppliers at DFN Plaster Products, here we tell you everything you should know about Plastering. At its most basic, plaster is a mixture of lime or gypsum, sand or cement, and water that hardens when dry. But there are wide varieties of options available for the modern plasterer, including slaked lime, Venetian (which has pigment and marble dust in it), gypsum, clay, and the Moroccan plaster. It’s up to you which one you should choose depending upon your personality and taste. Think beyond walls, you can use plaster to create texture and sculptural effects on everything from stairs to fireplace surrounds.
.
Unlike many types of paints, plaster is an environmentally sound natural material: breathable, and free of chemicals and VOC. There is an art to plastering and a lot to be said for following the right steps to getting that perfect finish, so no cutting corners here!
In the6 stages of plastering, each one plays an important part in getting good results at the end. So we’ve put together a handy guide which will talk you through them step by step. Once you’ve prepped the wall for plastering, controlled your suction so that the plaster doesn’t dry too quickly and you’ve mixed your plaster, it’s time to get started on the six stages.
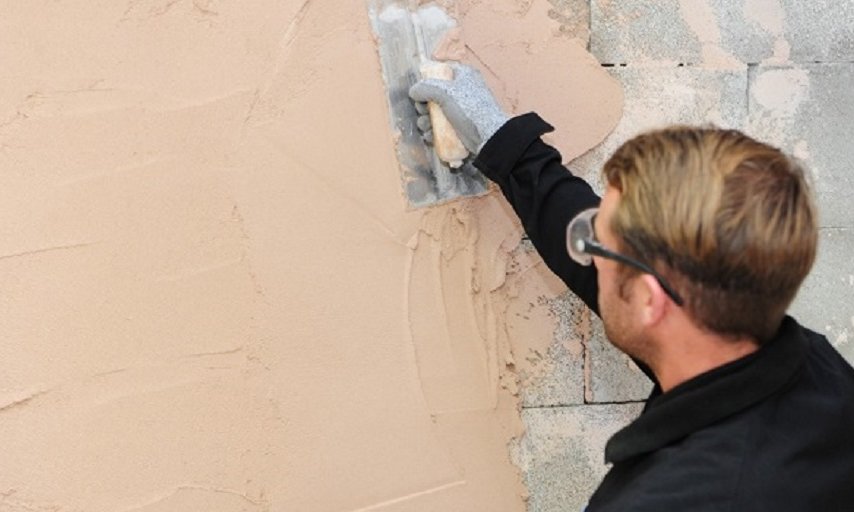
Stage 1:
This is where you apply your first coat of plaster, which should be about 2mm thick. On this first coat it’s more important to try and get a flat even coat with no bulges, don’t worry too much about any trowel marks or ridges because these will come out later.
Stage 2:
As the plaster begins to firm up this is when you can flatten off the first coat with a clean trowel, making sure that the bulges are pushed out.
Stage 3:
Straight after you’ve finished stage two, the second coat of plaster is applied. It’s very similar to the first stage, but this time you’re only using half the plaster, applying half the thickness and even firmer pressure to try and reduce any holes in the plaster that might be caused.
Stage 4:
This is where you can trowel the plaster flat and remove any holes. Hopefully, the plaster will be tacky and pliable enough to be pushed around into the holes, although make sure it isn’t too wet or this could create more.
Stage 5:
This is where you remove any ridges in the plaster by using firm pressure with your trowel. If the plaster is quite firm and not easy to push around you can widen the angle of your trowel against the wall, but be careful not to scrape the plaster off.
Stage 6:
The final part of the six stages of plastering should leave you with a nice even slightly polished surface. It begins when the plaster starts to darken as it dries. This is where you can run the trowel with a firm pressure over the entire wall to finish. And you’re done!